Wax Seal Making Instructions and Helpful Tips
What is a wax seal
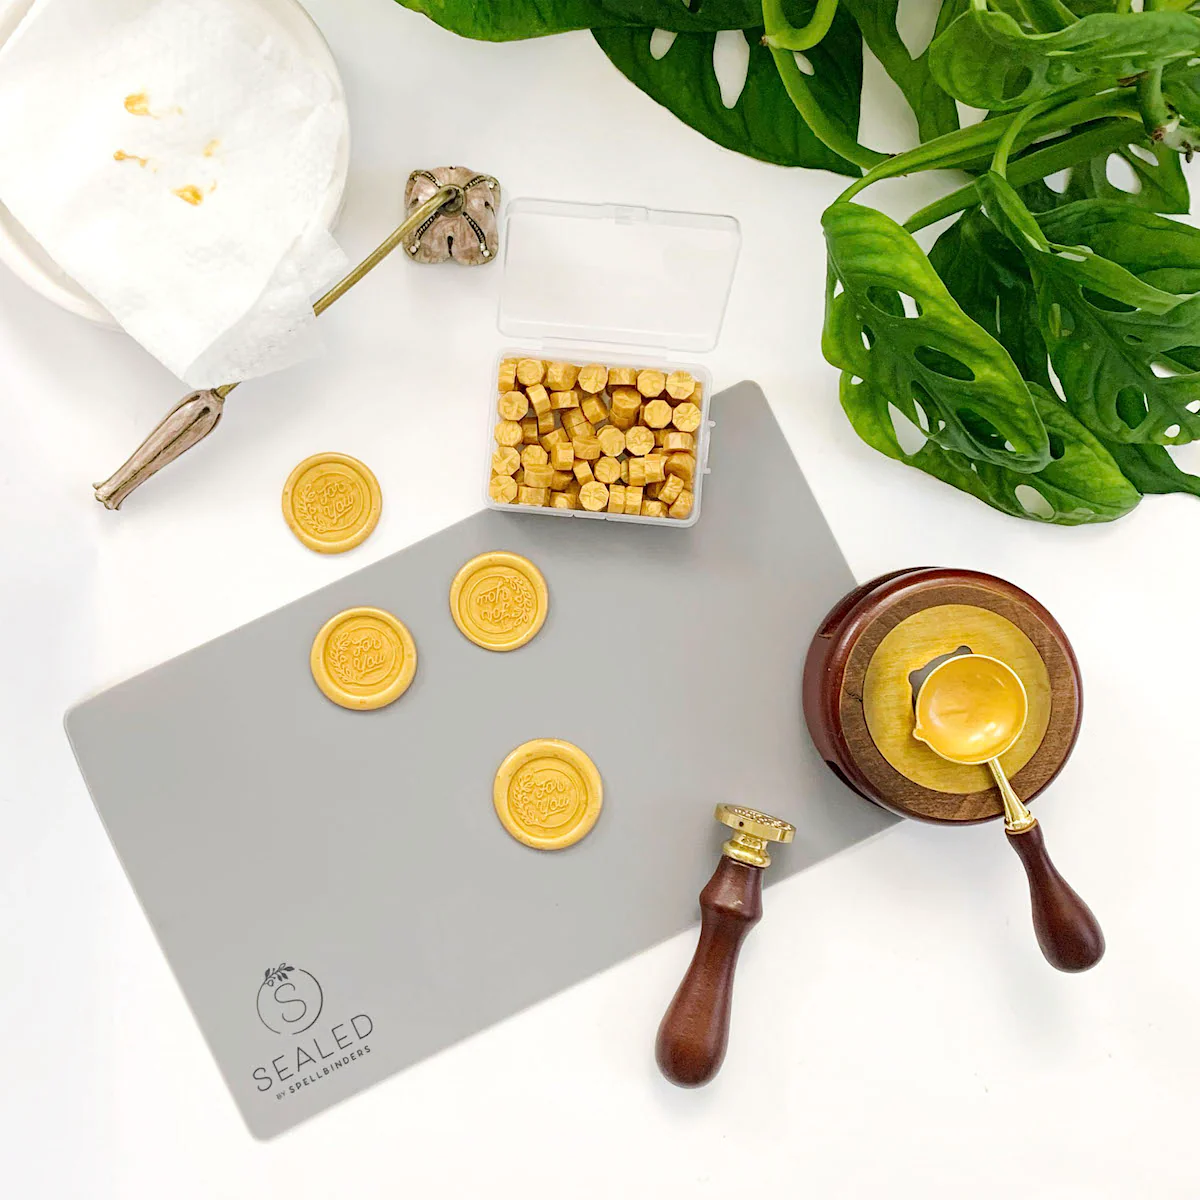
Wax seals date back to ancient civilisations when they were used to seal important documents. The design of the seal was unique to the owner and often included family heraldry, initials or other designs and symbols. Today they are created and used for decorative purposes on card making, wedding stationery, envelopes and gift wrapping. Wax beads are available in a wide range of colours and wax seal stamps have many different designs to suit different occasions.
How To Make A Wax Seal
The process to make a wax seal is very simple, as long as you have the necessary equipment.
and follow these steps:
1. Light the tea light candle and place under the spoon holder, put wax beads in the spoon and rest on the spoon holder until the wax beads have just melted.

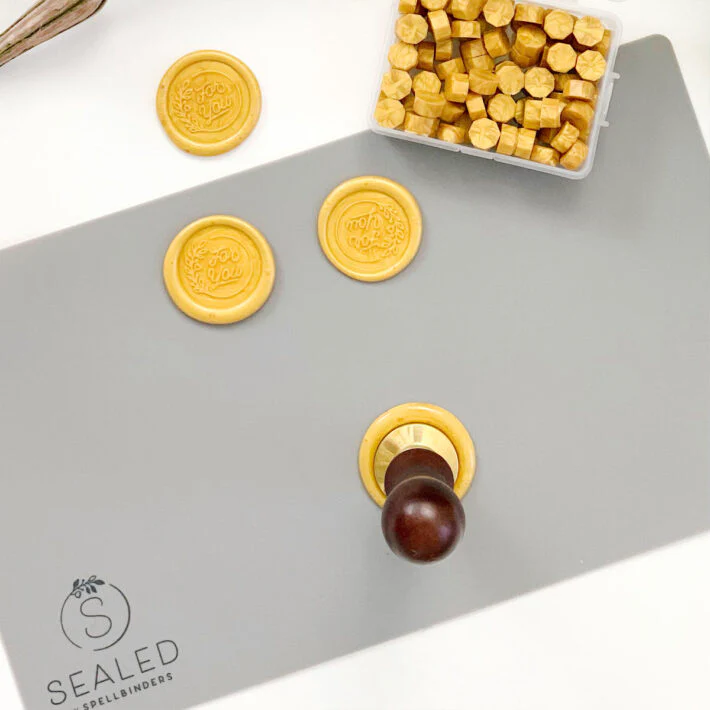
2. Once the wax has melted pour it directly on to your project, or on to a heat resistant or silicone mat for later use. Gently press the wax seal stamp into the blob of wax.

3. Leave the stamp in place for 15 to 20 seconds, then carefully remove it to reveal your design.

For a traditional wax seal look, 3 beads are sufficient. For a chunkier looking seal increase the number of beads to 4 or 5.
More Ideas
- If you are adding the wax seal directly to your project you can try pouring the wax over die cut leaf or flower stems, twine, ribbon etc.
- Try using more than one colour of wax bead, and pouring the melted wax in a circular motion, to create a marbled effect.
- Add glitter to the melting wax for a sparkly finish
- Once cooled, colour the raised areas of the design with a metallic ink marker pen to highlight them.
- Create wax seals on a silicone or heat resistant surface and adhere to your project later with a wax seal sticker.
Examples


