
Hi, Here’s a lovely birthday card, with bold colours and beautiful copper mirror highlights. I used the new Fresh Picked Buttercups die set for the flowers and leaves and a geometric embossing folder for the
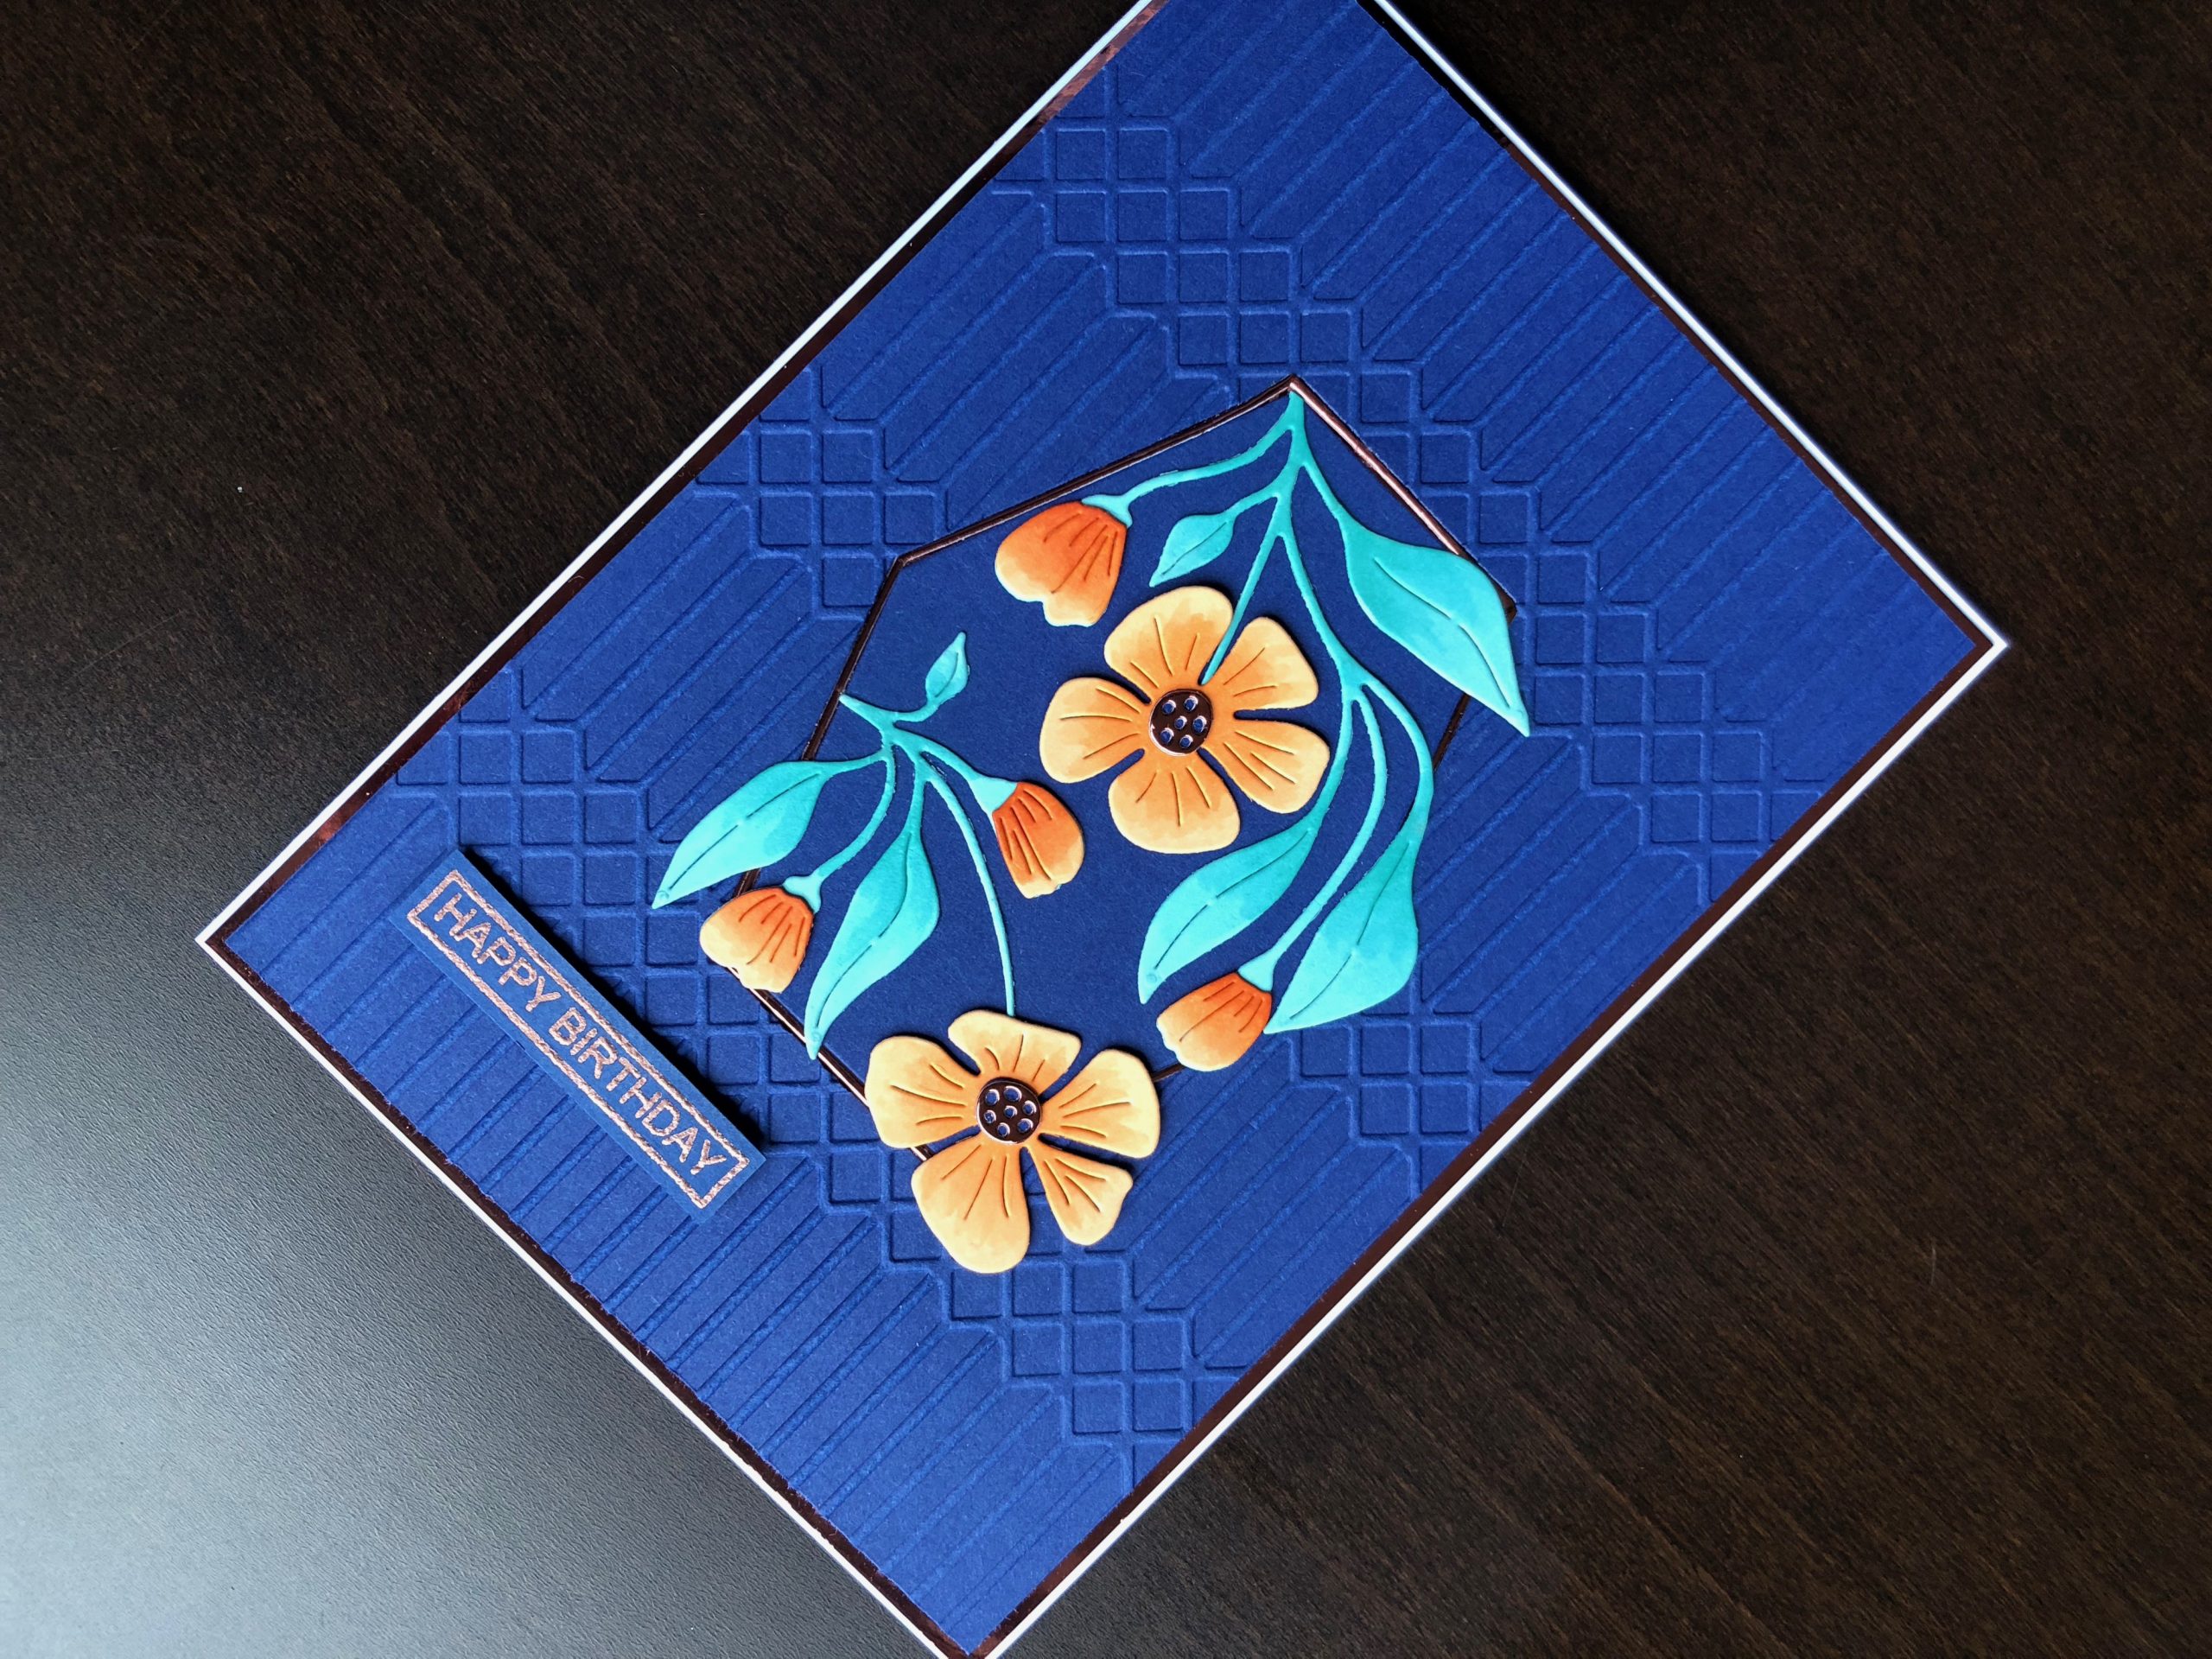
Hi, Here’s a lovely birthday card, with bold colours and beautiful copper mirror highlights. I used the new Fresh Picked Buttercups die set for the flowers and leaves and a geometric embossing folder for the background to echo the geometric centrepiece. I am rather disappointed with the photograph of it but this was the result of my tenth attempt to get a good picture!

To Make The Card
Start with a white 5″ x 7″ blank card and trim it slightly to 12.5cm x 17.5cm ( this makes it easier to measure and cut the layers). Add a layer of copper mirror card 12.3cm x 17.3cm. Cut a piece of dark blue card 11.8cm x 16.8cm and die cut the geometric shape from the centre of it. Emboss the blue panel with the Columns embossing folder and adhere to the card front. Cut the geometric shape from copper mirror card and adhere the thin frame that is created, inside the aperture on the blue panel. Adhere the blue geometric shape inside the remaining opening on the card, so that it is framed by the copper.
Die cut two stems and open flowers plus their centres and four closed flowers. Use a pale green card for the stems and pale orange card for the flowers, dark blue for the solid centres and copper mirror for the pierced centres. Add some extra colour to the flowers and leaves with alcohol markers or coloured pencils. Assemble the flowers and stems and glue in place on the geometric panel, overlapping it slightly in places.
To finish stamp the happy birthday sentiment on blue card and heat emboss with metallic copper embossing powder. Trim the strip leaving a narrow border around the stamped edge and adhere to the bottom left hand area of the card with thin adhesive foam pads.
I am very pleased with this card, which, once you have chosen your colour scheme doesn’t take too long to put together. Thank you for visiting, I hope you like it too. All the products used are linked below.
Debbie x
Products Used
- White 5″ x 7″ blank card and envelope
- Blue, green and peach coloured card
- Copper mirror card
- Extendable paper trimmer
- Geo Floral Frames die set
- Fresh Picked Buttercups die set
- Columns embossing folder
- Big Shot die cutting machine
- Alcohol ink marker pens
- Word Fragments clear stamp set
- Watermark ink pad
- Metallic Copper embossing powder
- Stamp positioning tool
- Heat gun
- Dries clear glue
- 1mm adhesive foam pads