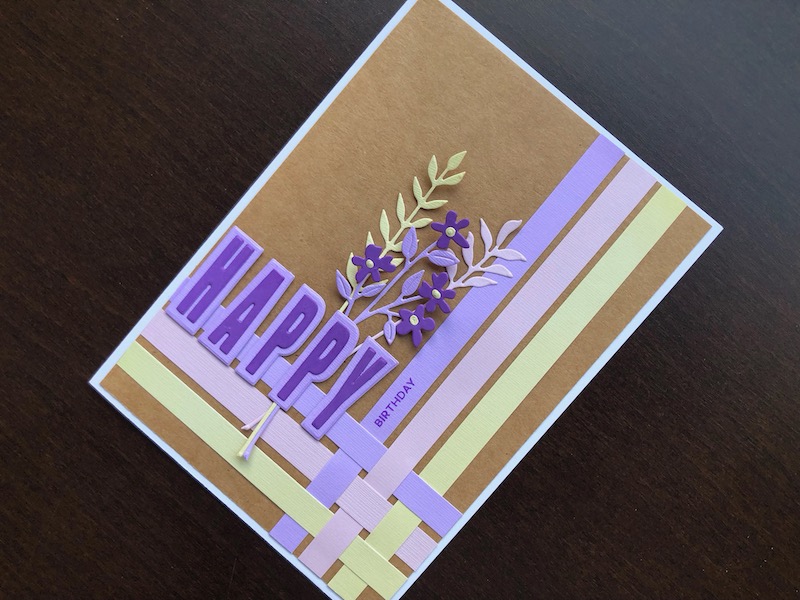
Hi, here’s the last card in the series of strips and stripes. The woven paper strips create a framework for the sentiment and flowers. Most of my recent cards have had white backgrounds so I
Hi, here’s the last card in the series of strips and stripes. The woven paper strips create a framework for the sentiment and flowers. Most of my recent cards have had white backgrounds so I chose a kraft background for this one for a change.

To Make The Card
Start with a 5″ x 7″ blank card and trim it down to 12.5cm x 17.5cm. Cut a piece of kraft card 12cm x 17cm and adhere to the card front. Cut three strips of card in three colours 1cm x 17cm and three more 1cm x 12cm. Weave the strips over and under each other to form a corner, once woven they are fairly secure, glue the strips in place. Die cut a selection of flowers and leaves with long stems, using the same pastel colours as the woven strips, but add in some purple. Cut the HAPPY lettering from purple card and the shadows from the lilac card.
Use thin foam pads to adhere the lettering so that it sits above the top strip, with the bottoms of the letters just on the second horizontal strip. Group the die cut flowers into a bunch and adhere underneath the second letter P. Finally stamp the word birthday vertically on the first vertical strip, with purple ink.
I think the colours on this card are very pretty and the pastels work well with the kraft background. Thank you for your visit, I hope you like the card. All the products used are linked below.
Debbie x
Products Used
- White 5″ x 7″ blank card and envelope
- 12″ x 12″ Kraft card
- Assorted colours card stock
- Extendable paper trimmer
- Alphabet Letters and Shadows die set
- Sealed Wild Flowers die set
- Big Shot die cutting machine
- Happy Sentiments clear stamp set
- Wilted Violet Distress Oxide ink pad
- Press to Impress stamp positioning tool
- 1mm adhesive foam pads
- Dries clear glue
- Double sided tape dispenser

