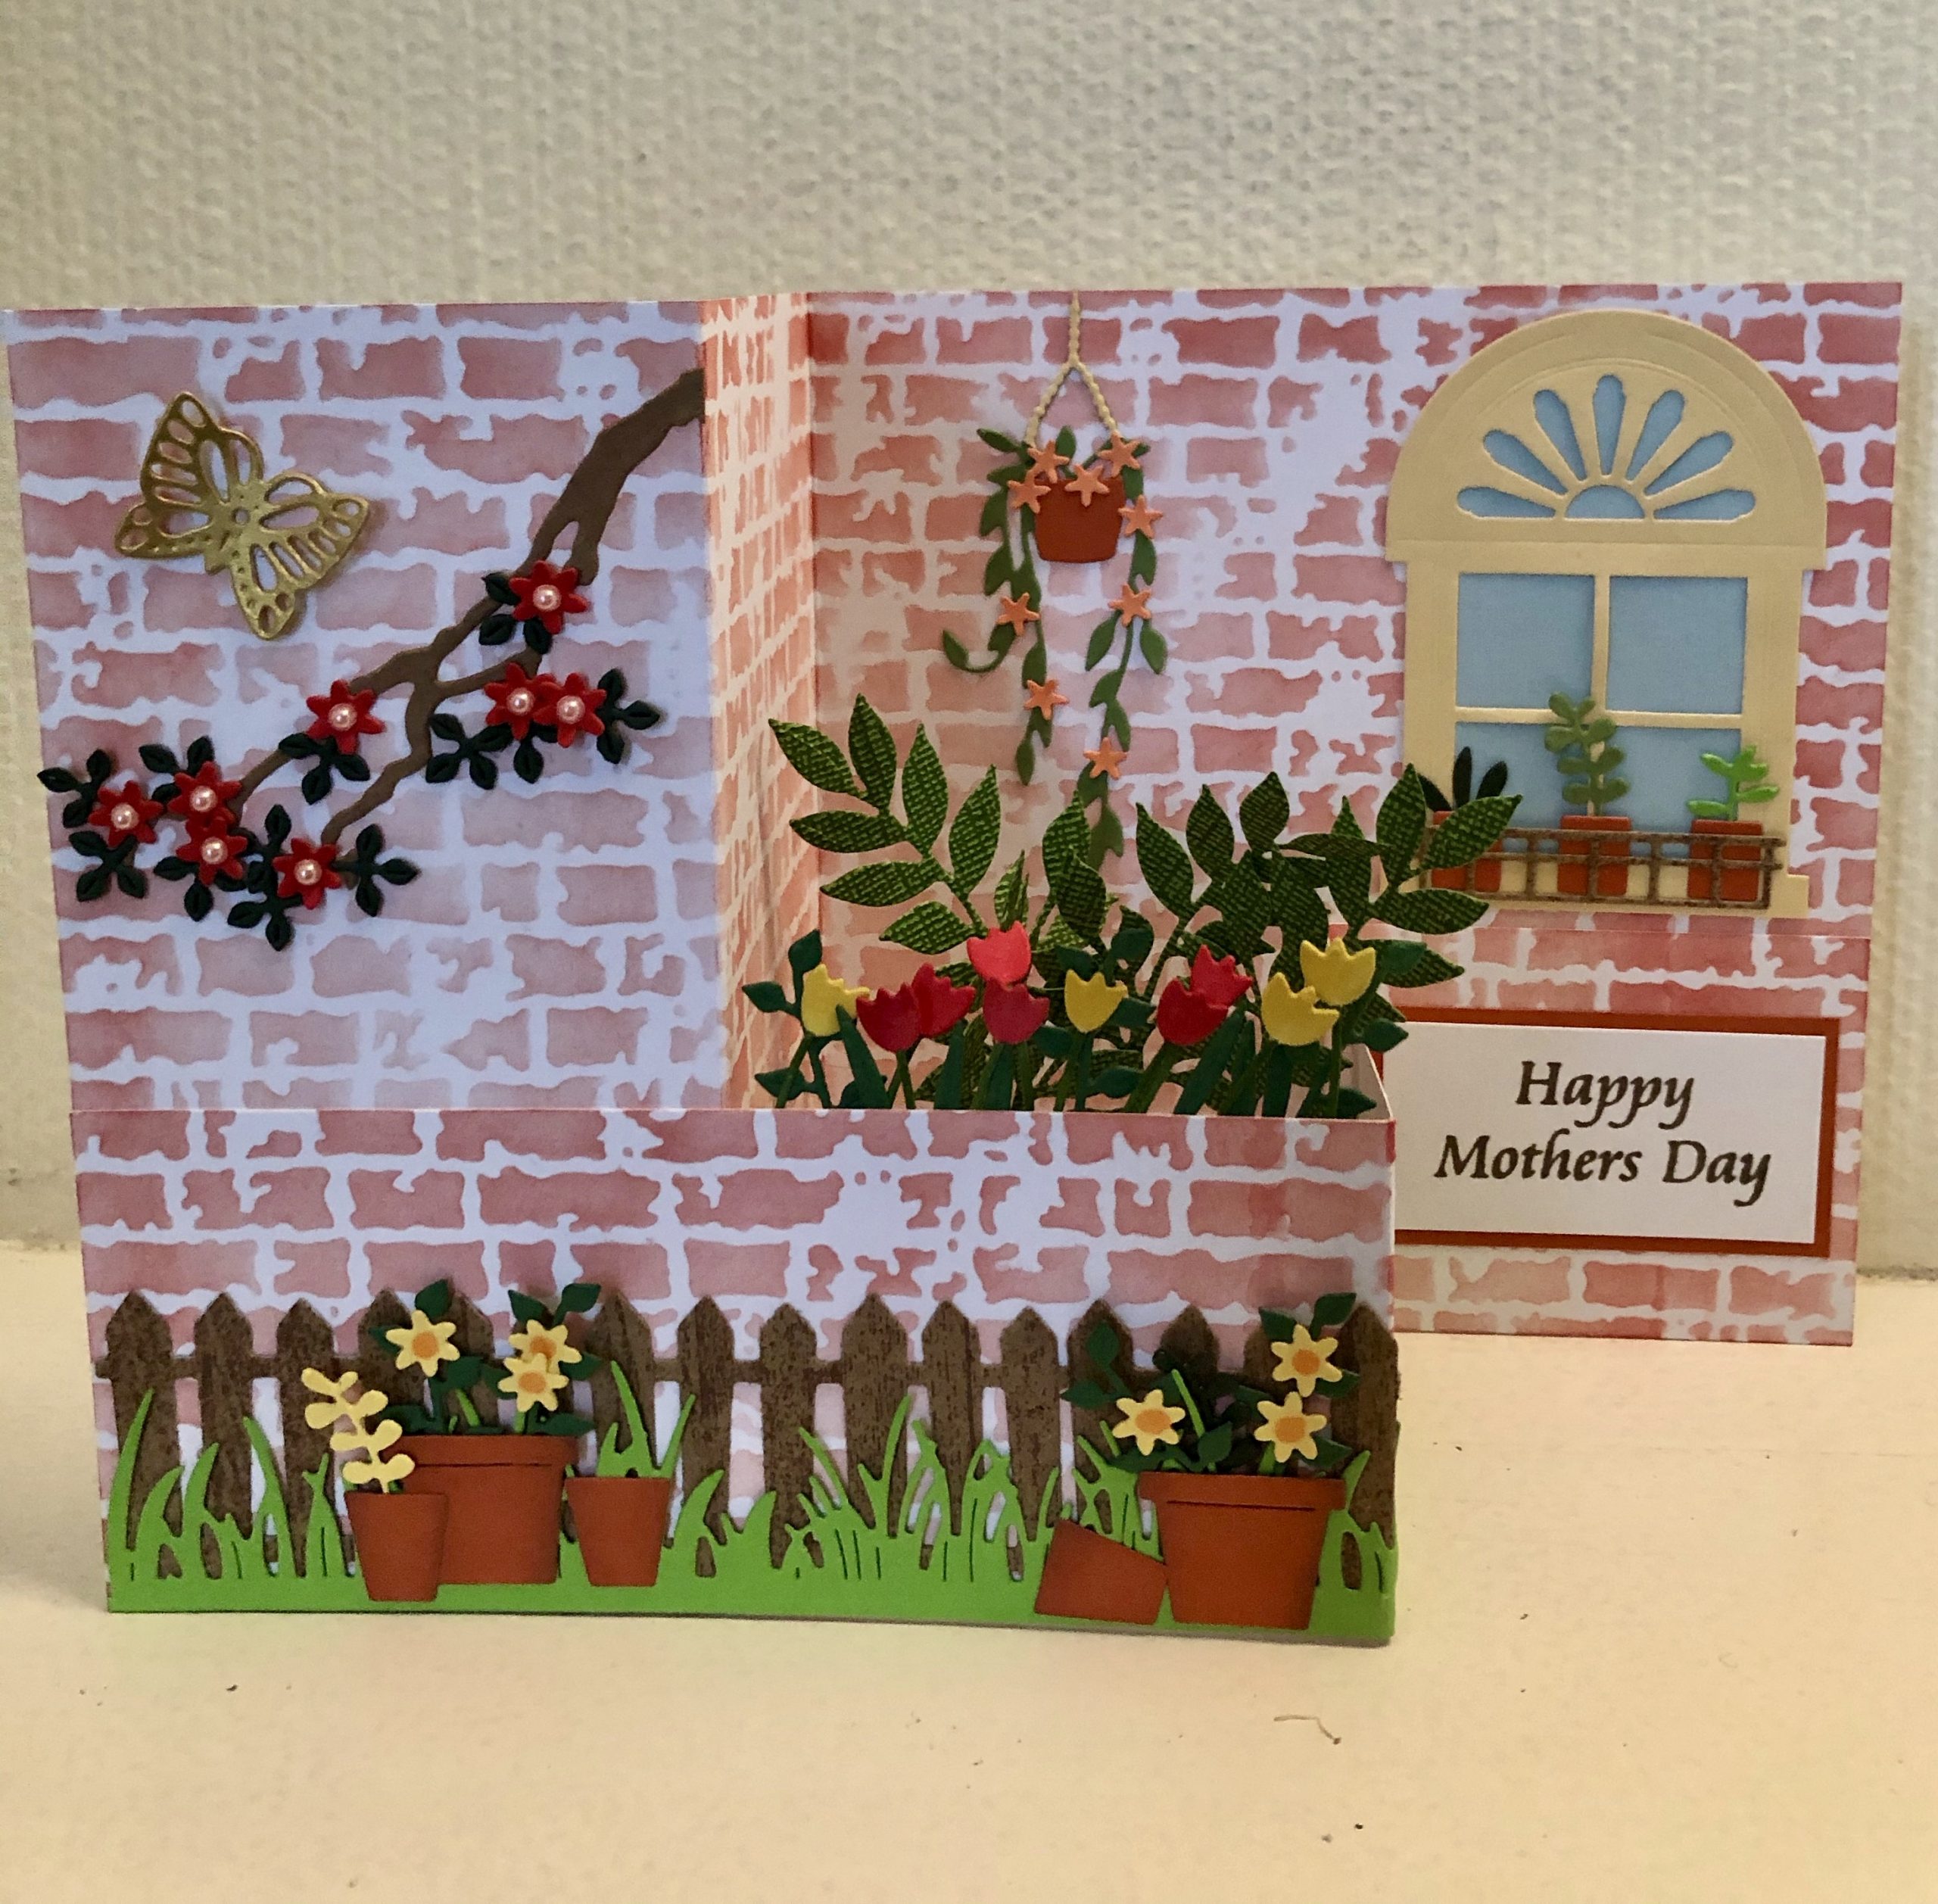
Hi Everyone, I have wanted to try making one of these fancy fold cards for quite a while. As I wanted something special for my Mum’s Mother’s Day card I thought it was a good
Hi Everyone, I have wanted to try making one of these fancy fold cards for quite a while. As I wanted something special for my Mum’s Mother’s Day card I thought it was a good opportunity to try it. I hope you like the result, some of it was a bit fiddly but well worth the effort.

This is a view of the card standing up seen from the front.
To make the Card
At first I thought this was going to be the longest description ever, but I realise that I don’t need to detail all the die cut flowers etc. as you can add whatever decoration you want. Take a piece of A4 white card and stencil it all over with the distressed brick design. Cut it into two pieces lengthways so that you have a piece 6cm wide and one 15cm wide.
Score the larger piece with a mountain fold at 7.5cm and valley fold at 15cm. Score the smaller piece with a mountain fold at 15cm and a valley fold at 22.5cm. I found it easier to add most of the decorations before I joined the two pieces. For the fence I stamped a woodgrain pattern in brown ink onto kraft card, then die cut several sections and joined them up as I glued them to the background. I used the same card for the little window box. Add strips of grass edge in front of the fence along with die cut flowers and plant pots. I added the leafy branch, window and hanging planter to the back panel.

Add a strip of double sided tape to the inside of the pop up box front wall, cut a piece of acetate approx. 2cm x 8.5cm. Fold each end over by about half a centimetre, pointing in opposite directions. Add a strip of double sided tape to this and adhere it inside the box area around the middle.
This is a view of the inside where you can see the construction. The leafy branches are attached to a strip of acetate, which is barely visible in the photo. The tulips are attached to the double sided tape on the back of the wall. Die cut the tulips from white card, then colour them with marker pens.

Take care when adding items to the inside of the box, so that you can still fold it flat for posting. Here you can see that it will fold down completely.
Using the measurements above the finished flattened card will fit in a 6 x 6 envelope.
I am very happy with this card and hope that my Mum will be too. Thank you for visiting, all the supplies used are linked below.
Debbie x
Supplies used:
- A4 Smooth white card
- Distressed brick stencil
- Distress Oxide ink pad Fired Brick, Vintage Photo
- Stencil brushes
- Shuttered Window die set
- Garden Shed Die Set
- Laurel Leaves die set
- Small Tattered Florals die set
- Fence and Bird House die set
- Grass Edge die set
- Tulip die set
- Tiny 3 Leaf Cluster die set
- Tiny 5 Petals Flower die set
- Tiny Leaves and Stems die set
- Tiny Flowers die set
- Happy Mothers Day clear stamp set
- Vintage Sepia ink pad
- Heat Resistant acetate
- 3mm pink self adhesive pearls
- Woodware crafty glue
- Big Shot die cutting machine
- Double sided tape dispenser

