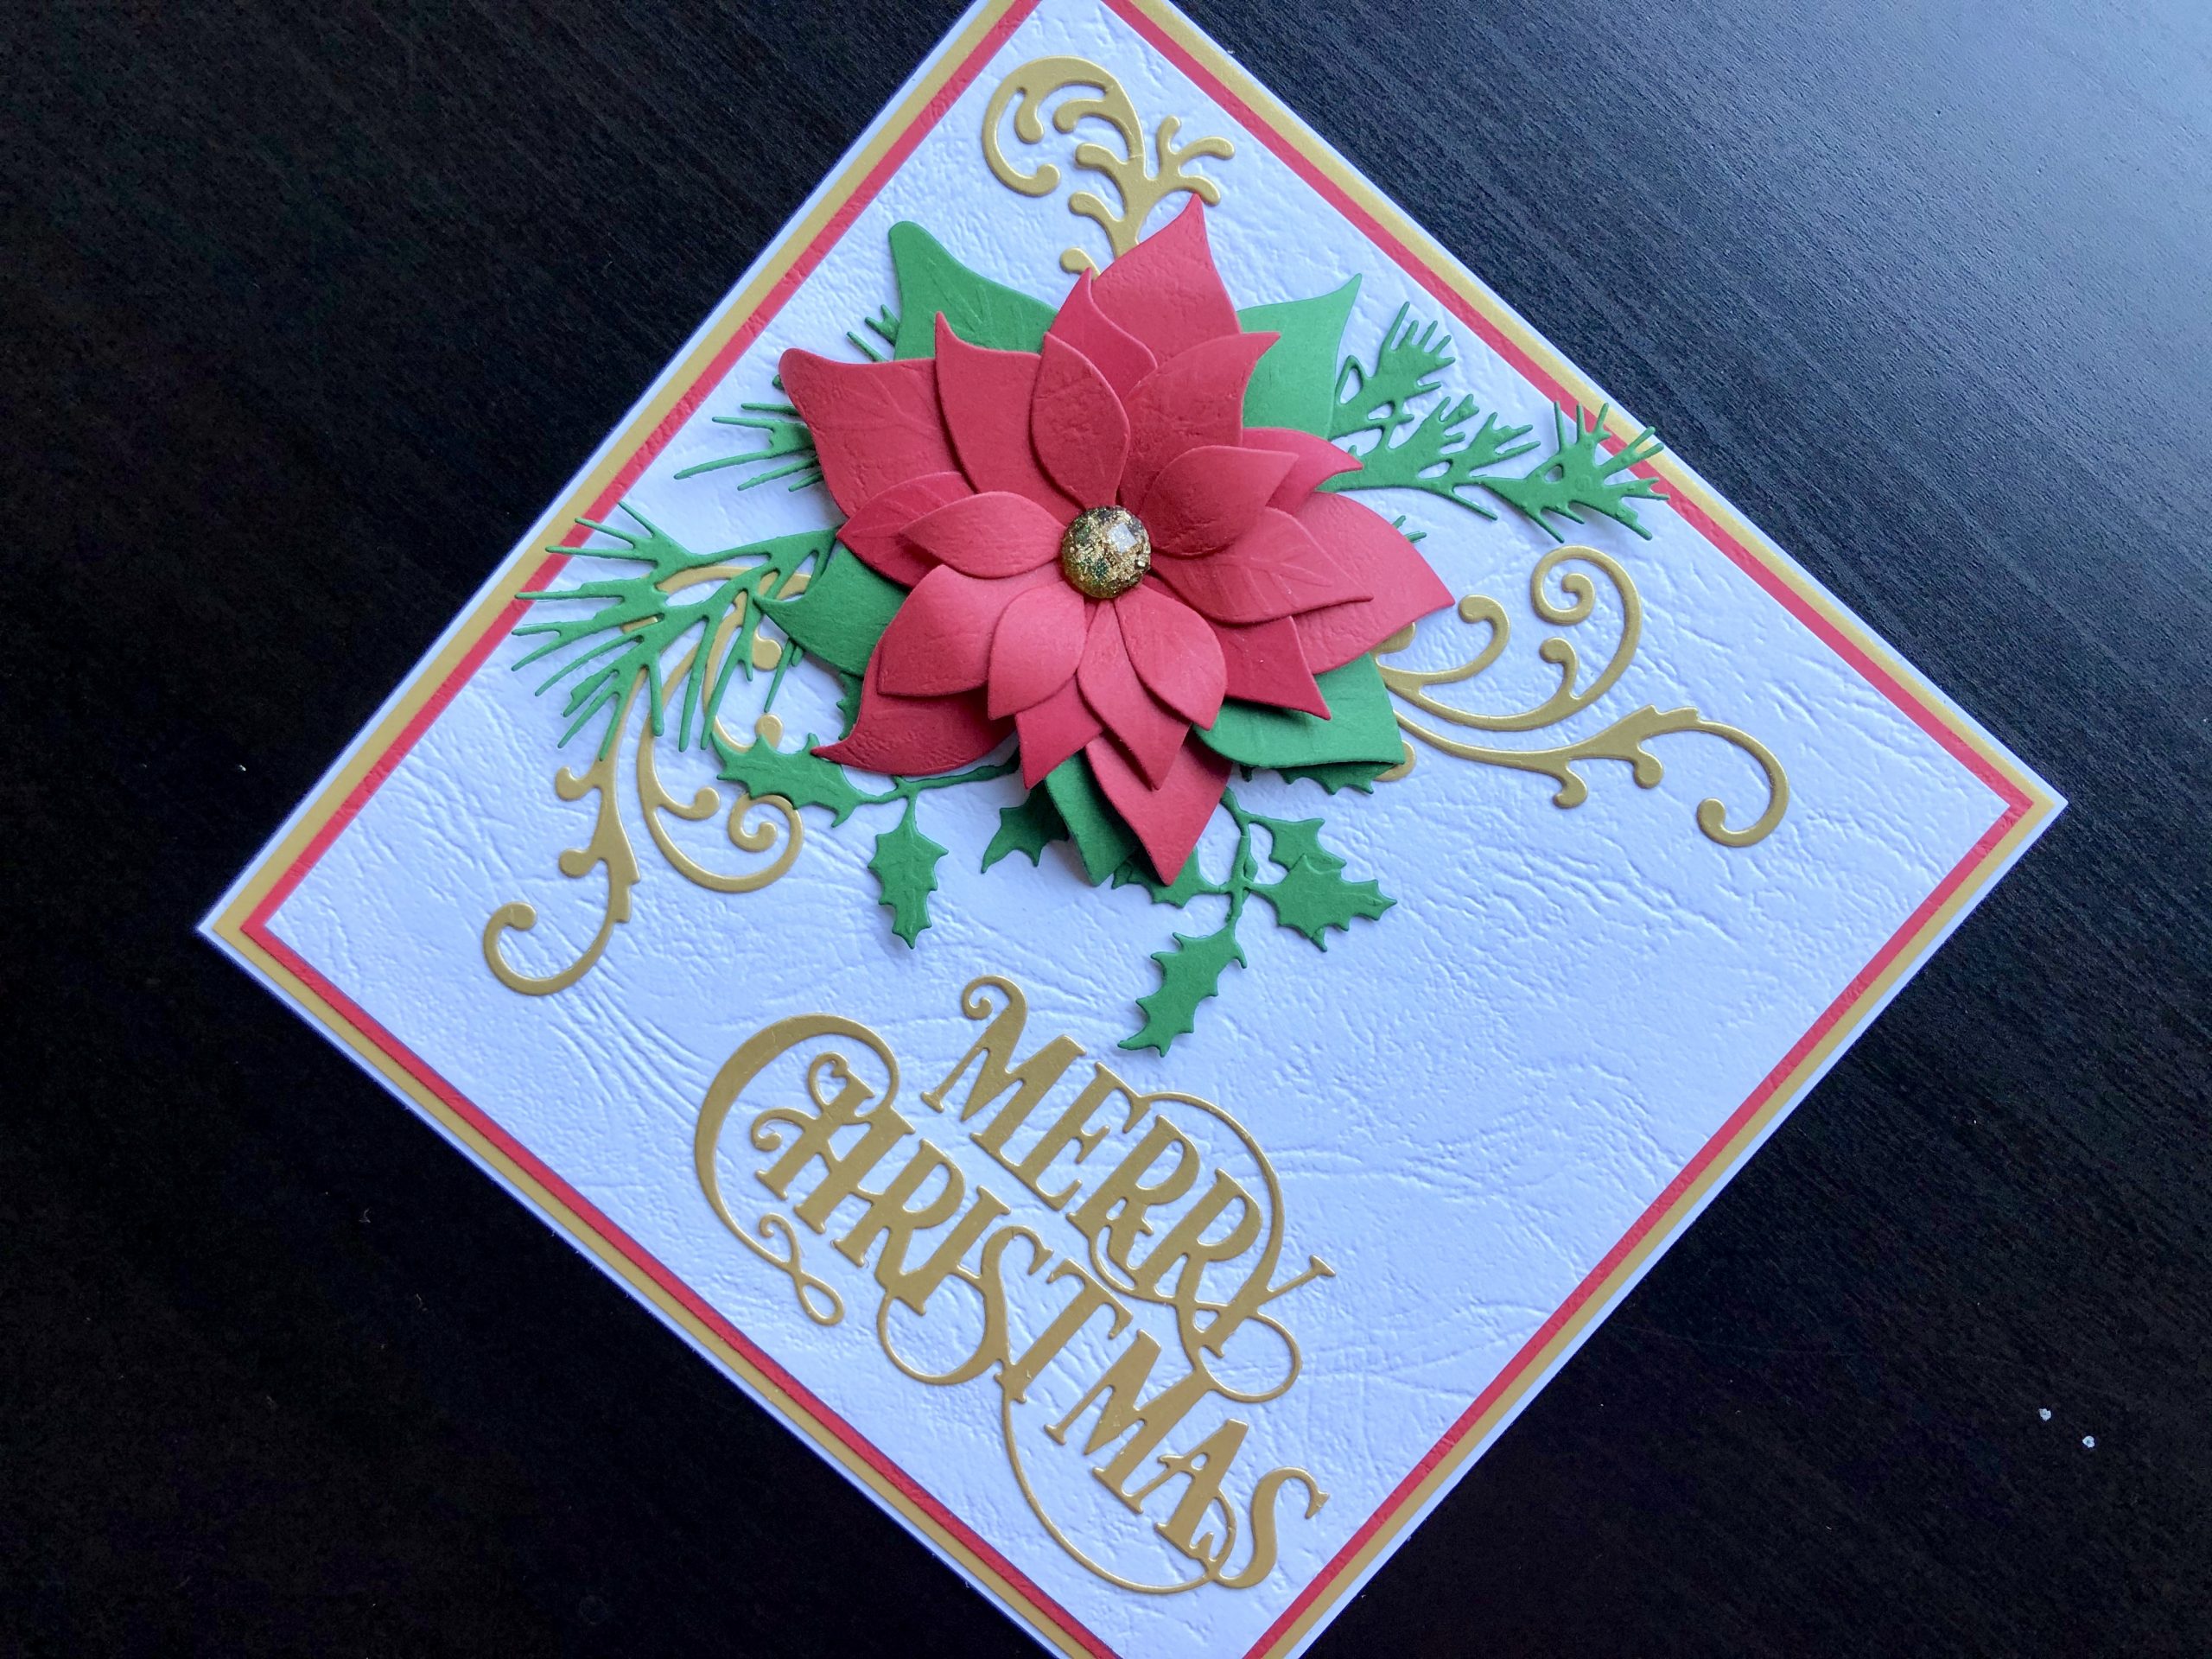
Everything about this card is classic Christmas, the colour scheme, the poinsettia and the greeting. It is also full of texture and dimension, and of course, a bit of bling. The card is for a
Everything about this card is classic Christmas, the colour scheme, the poinsettia and the greeting. It is also full of texture and dimension, and of course, a bit of bling. The card is for a specific recipient whose eye sight is failing so I wanted something big and bold that would be easy to see. I think this suits it’s purpose perfectly.

Make the Card
Start with a 15cm square white blank card. Layer this with gold, red and hammered white card. The hammered card is perfect as it has texture but is still smooth enough to glue the greeting to it.
Lots of die cutting next, from gold card the greeting and the flourishes. From red card the poinsettia petals, (I added an extra middle sized layer to make the flower fuller). From green card, a set of large poinsettia petals to be leaves and a mixture of holly and foliage.
Make the poinsettia by rolling each petal over a bamboo skewer or something similar to bend them slightly, then glue all the layers in place and add an adhesive crystal dot to the centre.
Arrange the flourishes, foliage and flower in the top left corner of the card and glue in place. I used ultra high bond tape for the poinsettia to make sure it is secure. Glue the greeting to the bottom right corner of the card.
I like everything about this card, I have used some of my favourite products and love the traditional feel that it has. I hope you like it too, feel free to leave a comment if you wish. Thank you for visiting, all the products are linked below.
Products Used:
- White 15cm square blank card
- Festive Shades A4 card pack (for red, green and gold card)
- White hammered card
- Poinsettia die cutting set
- Merry Christmas die cutting set
- Winter Foliage die cutting set
- Frame and Swirls die cutting set
- Country Christmas adhesive crystal dots
- Woodware Crafty Glue
- 6mm Ultra high bond double sided tape

