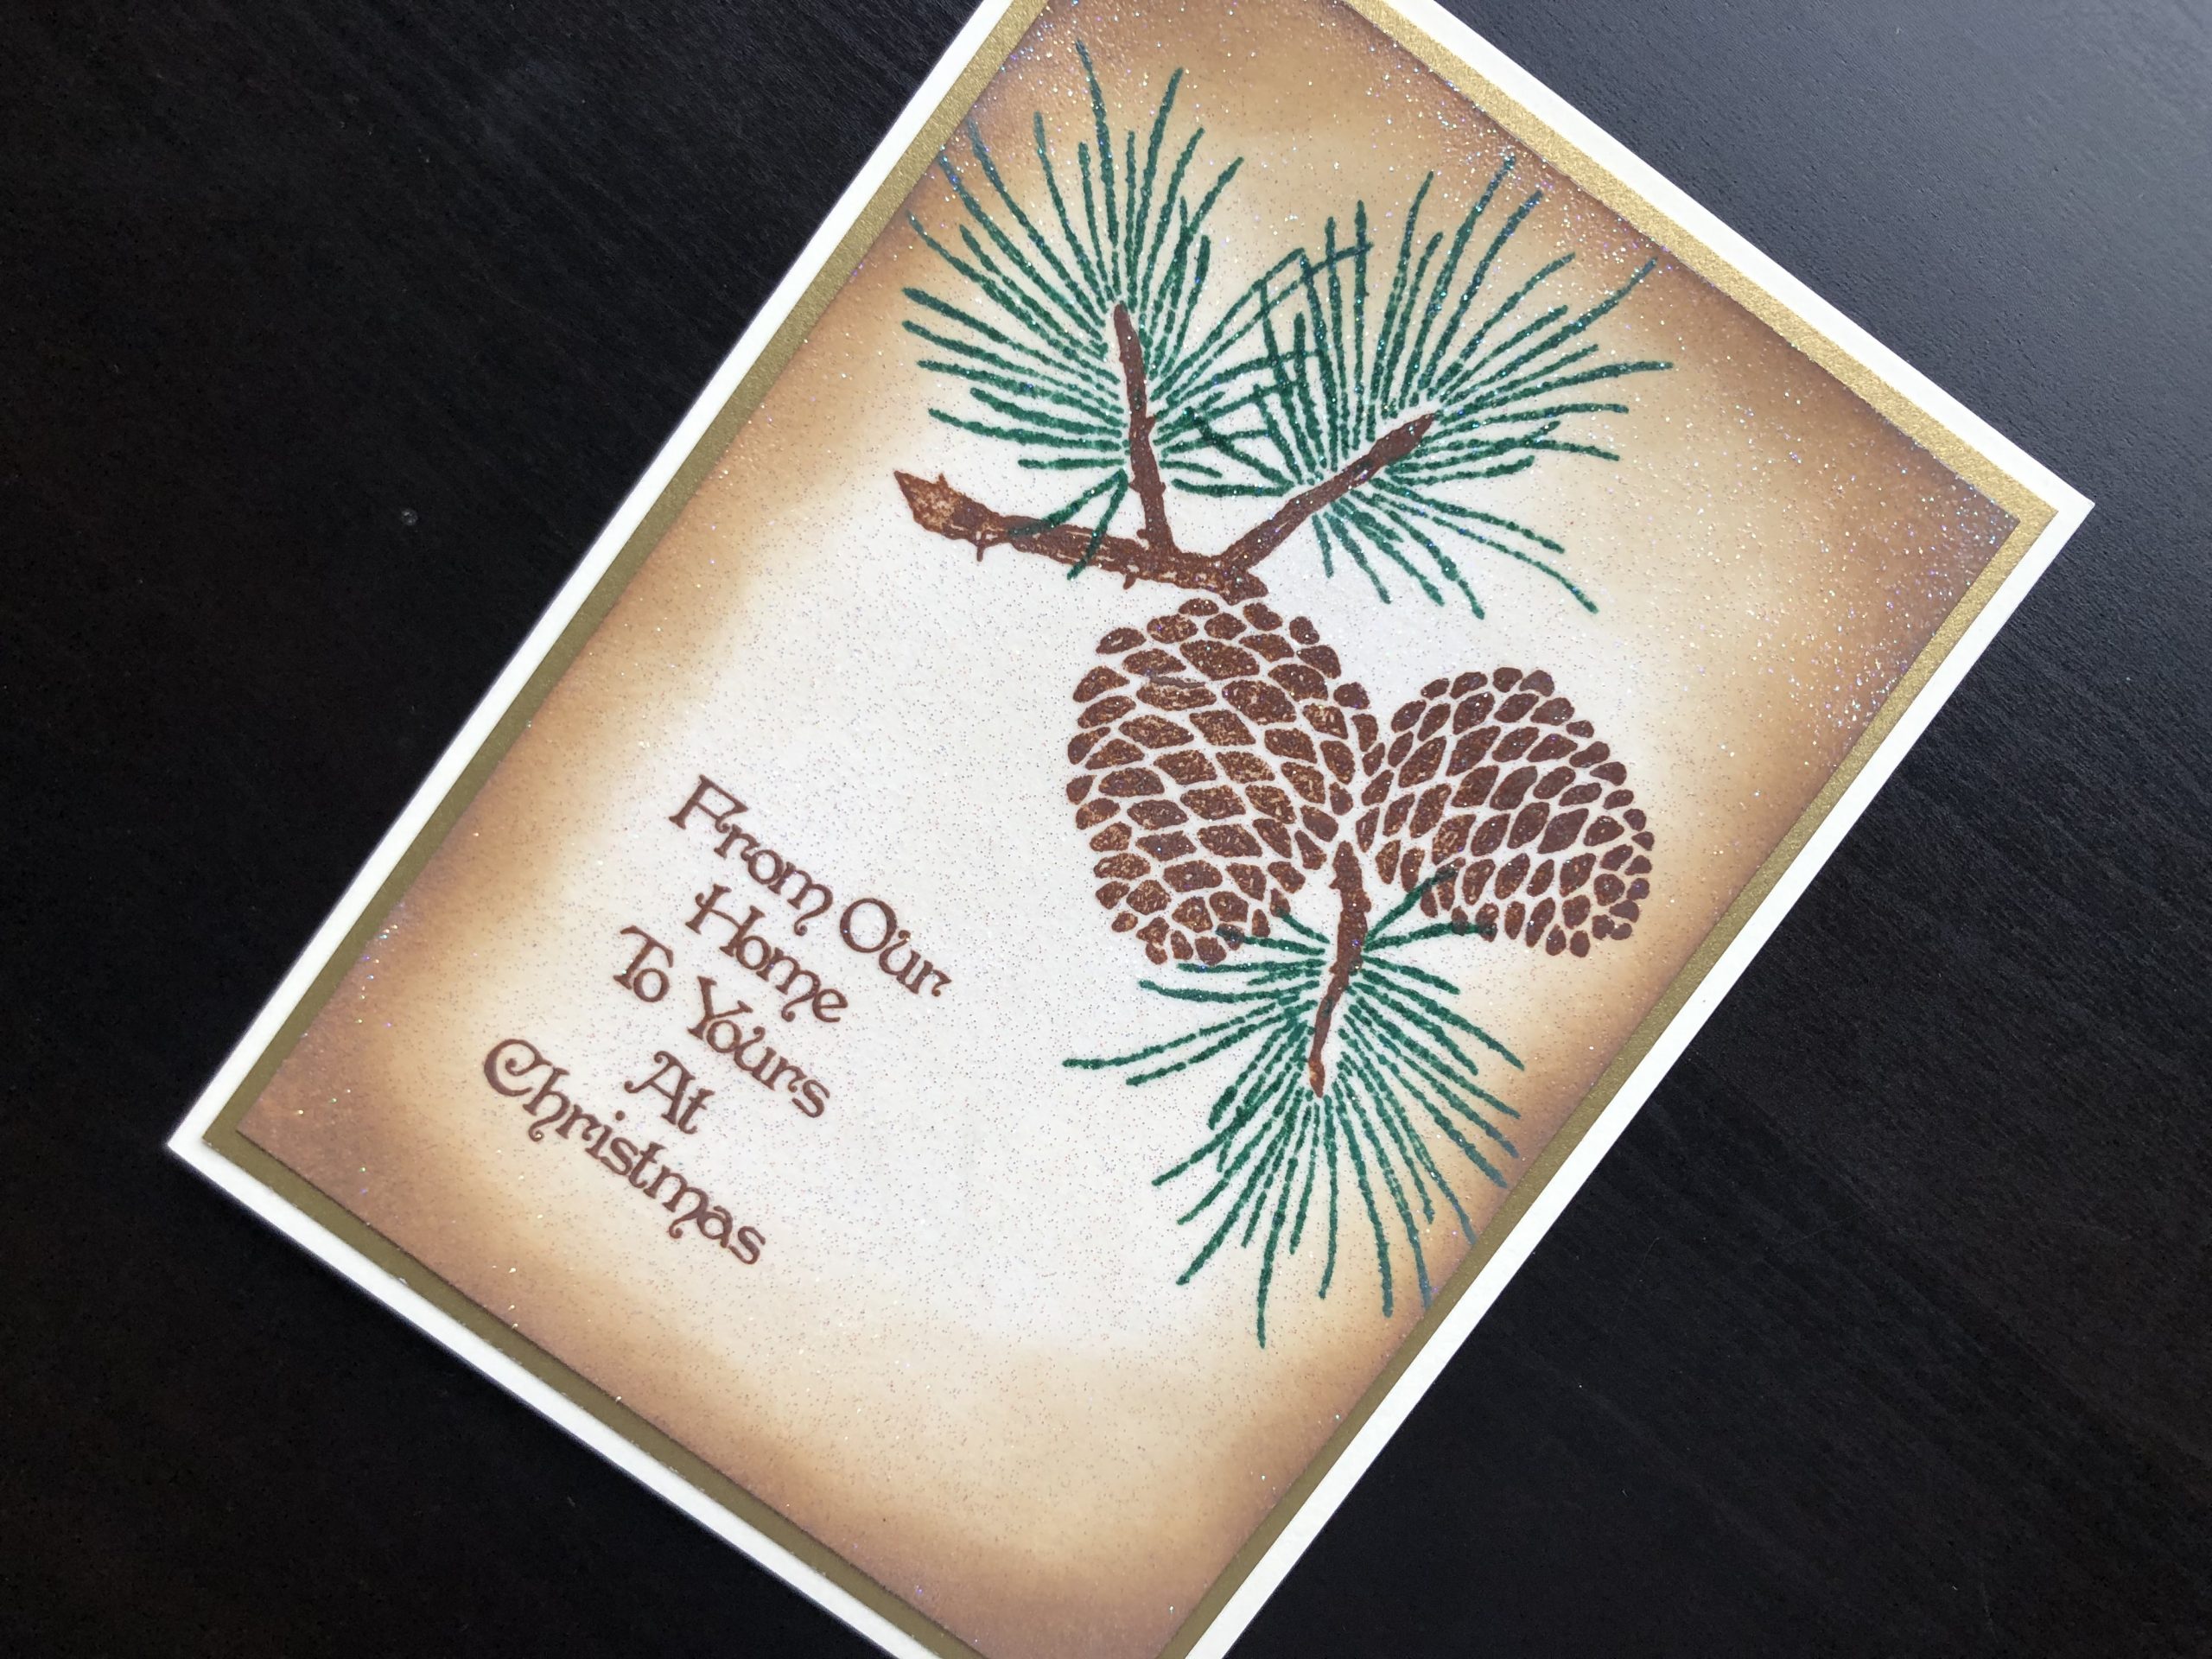
HI Everyone, I used one of the new Woodware Christmas stamps for this card, the Sketchy Pine Cones. It’s a great stamp set that works equally well for making background and foreground images. I also
HI Everyone, I used one of the new Woodware Christmas stamps for this card, the Sketchy Pine Cones. It’s a great stamp set that works equally well for making background and foreground images. I also used an easy embossing technique to add a shiny glittery layer to the whole card. I hope you can see that in the photograph.

To Make the Card
Start with a 5″ x 7″ ivory blank card and layer it with gold card. Cut a piece of ivory card approx. 11.5cm x 16.5cm, then stamp the main pine cone image towards the top of the cream card. The leafy parts of the image are on a separate stamp making it easy to use a different colour for them.
Stamp the sentiment in the lower left area of the card using the same brown ink as the pine cones. Ink around the edges of the card with a slightly lighter brown ink, letting it fade as you go further into the card. Use an embossing ink pad to cover the whole of the stamped card with embossing ink. Sprinkle all over with crystal glitter embossing powder. Use a heat gun to set the embossing powder creating a layer of glitter that will not rub off. Adhere the finished panel to the front of the card over the layer of gold card.
The glitter effect on this card is really stunning it’s such a pity that you don’t get the full impact in the photo. It’s an easy technique which I will definitely be using again. Thank you for dropping in, I hope you like the card.
Debbie x
Supplies used:
- Ivory 5″ x 7″ blank card and envelope
- Festive Shades A4 card pack (for the gold card)
- Cream card
- Sketchy Pine Cones clear stamp set
- Walnut Stain, Frayed Burlap Distress Oxide ink pads
- Pine Needles Distress ink pad
- Essential Festive Sentiments clear stamp set
- Versamark Watermark ink pad
- Crystal Clear embossing powder
- Folding heat gun

