Here’s a card with a lovely stencilled background, the colours and stencil design mean that it doesn’t need much else. I did think about adding glitter paste through the stencil but decided against it in
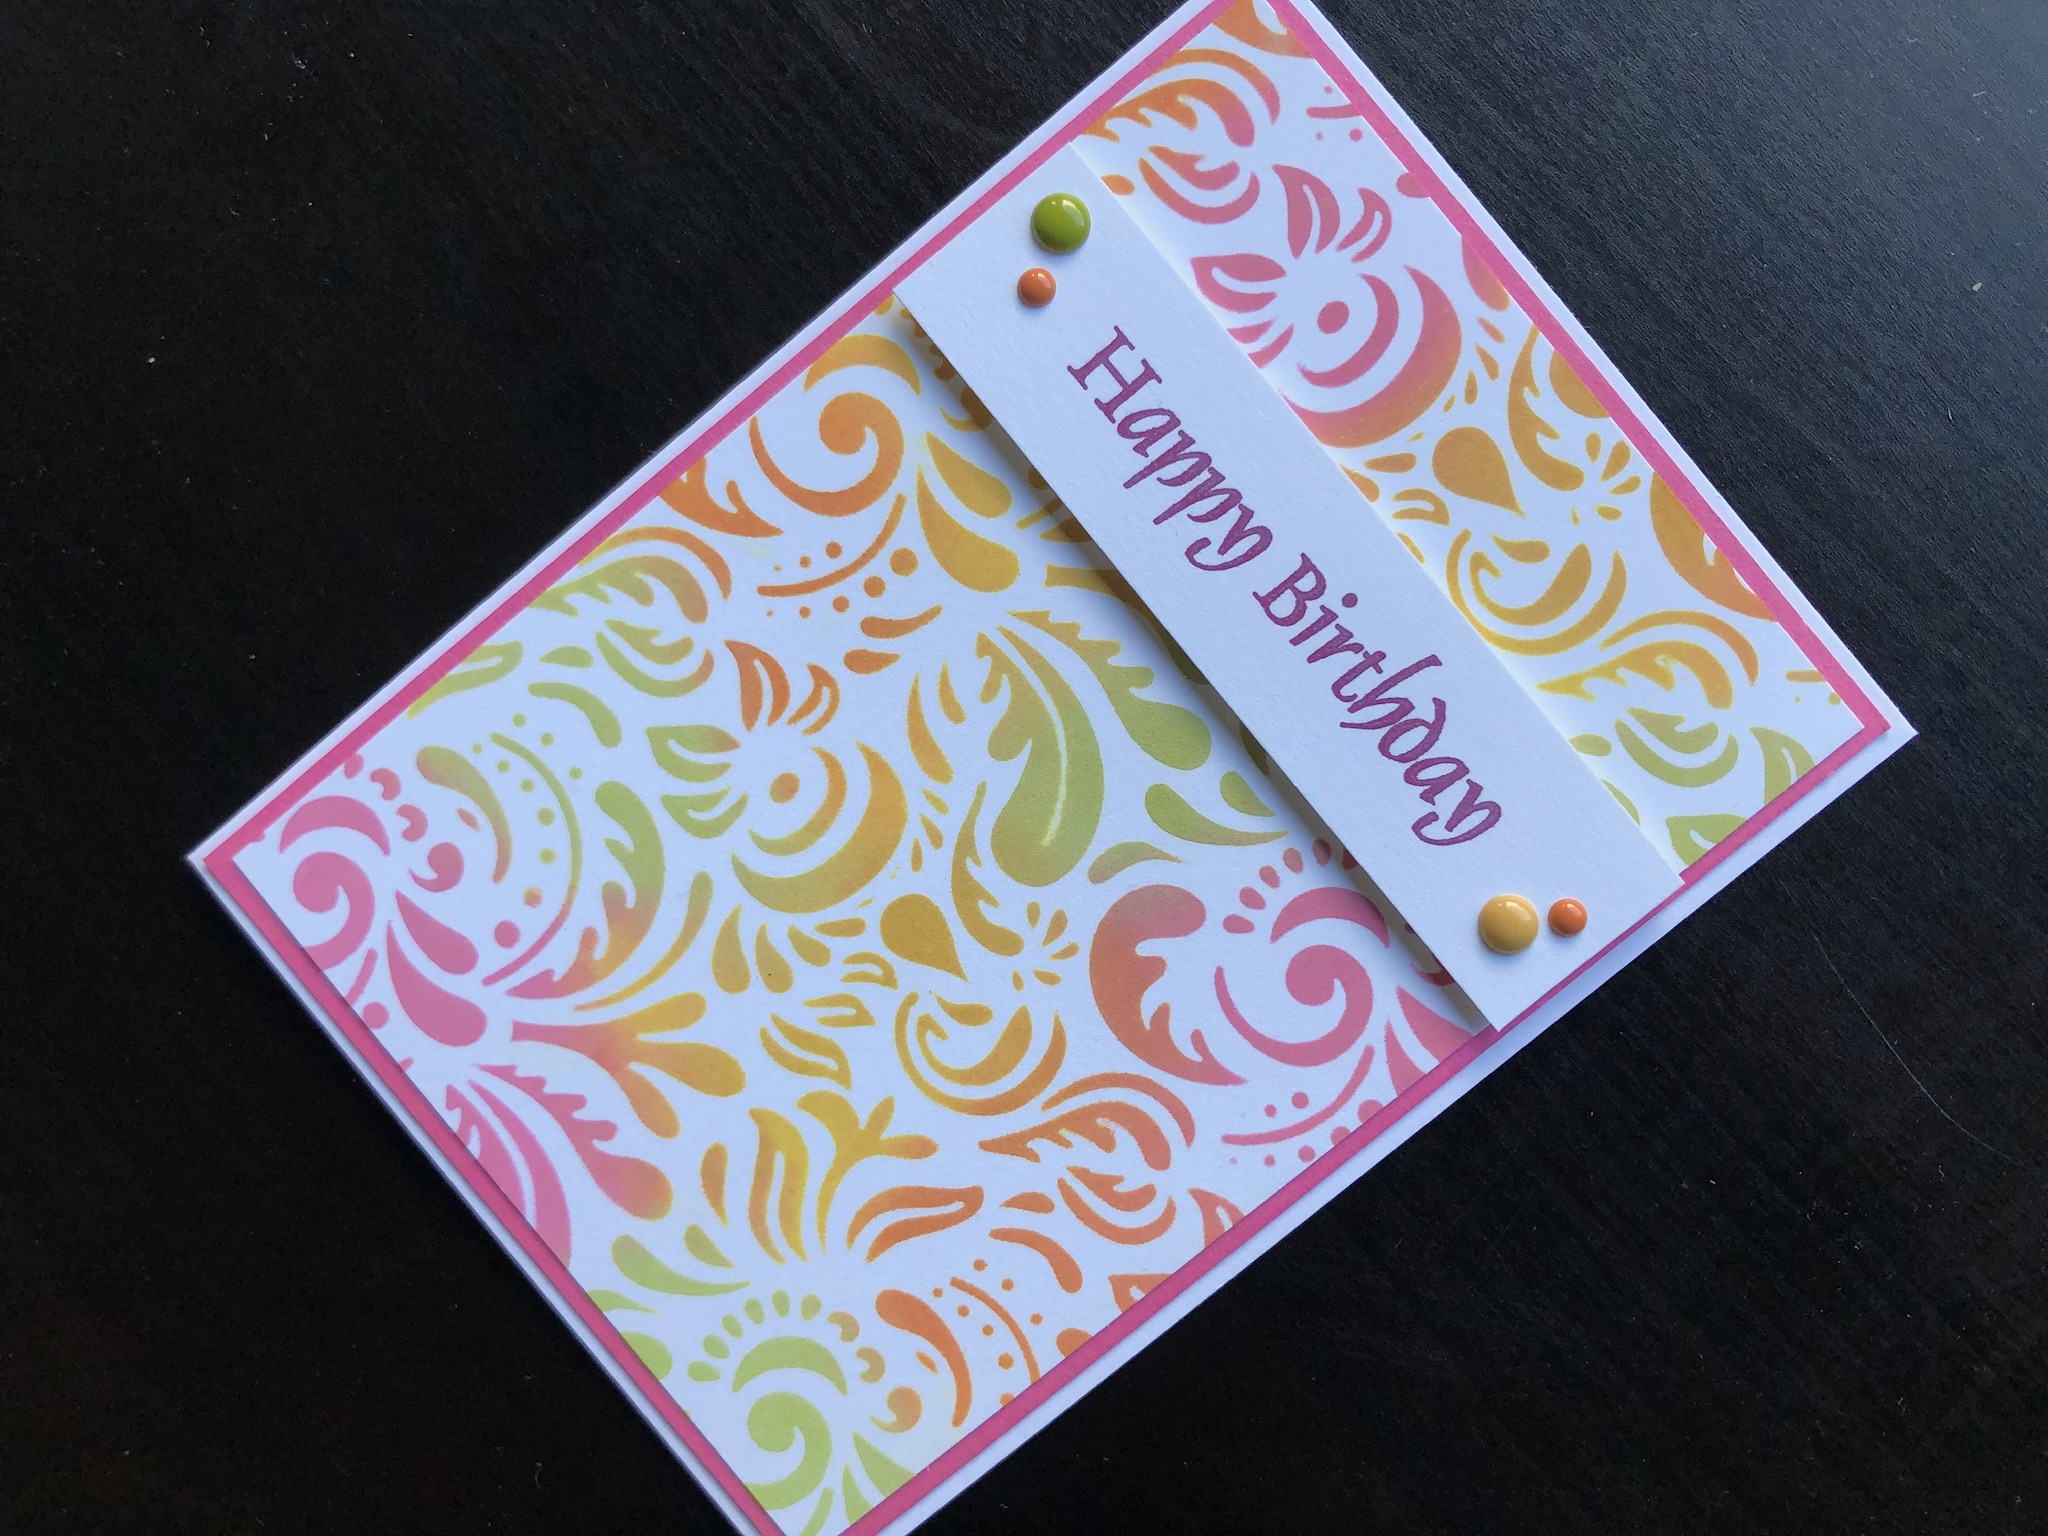
Here’s a card with a lovely stencilled background, the colours and stencil design mean that it doesn’t need much else. I did think about adding glitter paste through the stencil but decided against it in the end, maybe next time.

To Make the Card
The card itself is very straightforward, an A6 white card layered with pink card. Followed by more white card with the stencil design on.
To get the best results from stencilling it’s a good idea to use removable tape to hold the stencil in place. Apply the ink quite generously to get a strong colour. Use a foam ink blending tool with a sort of press and twist action to make sure all the intricate areas of the stencil are coloured. Leave the stencil partially taped down and lift from one side to check the colour and coverage. Replace the stencil and add more colour if necessary.
Cut a strip of white card and stamp the Happy Birthday greeting in the centre. Adhere this across the card front, using foam tape to pop it up. Add some co-ordinating enamel dots to decorate the sentiment strip.
There you have it, the longest job was deciding which colours to use. I wanted a card that was bright and lively but not too fussy and I think that’s just what I got. Thank you for calling in, please leave a comment if you have a minute.
Debbie x
Supplies used:
- White A6 blank card and envelope
- Pink card
- A4 smooth white card
- Baroque stencil
- Distress Oxide ink pads Twisted Citron, Picked Raspberry, Fossilized Amber, Spiced Marmalade, Seedless Preserves
- Foam ink blending tool
- Purple removable tape
- Foam on a Roll
- Happy Birthday clear stamp set
- I Love Family enamel dots

